Want to quickly make a very lightweight camping stove for your outdoors adventures? Sick of loading up pages that have fifty popups and crap ads every two sentences? You’re in the right place…

Alcohol and stoves are two of my favourite things. As well as knives, so you can add that into the mix and here’s a fun little build project for your evening, if you have no friends and nothing to do.
Why alcohol stoves?
Well, if we look at this from a Milsim/Airsoft weekender point of view, you’re going to need to eat at some point over the weekend and it’s always a nice boost to have hot food and water. But at a proper event, there won’t be any hot showers or kettles anywhere, so you’re going to need some sort of heat source to do any cooking. I’ve covered this before in Milsim Meal Time; there are so many options out there for cooking food and it’s worth looking at a few options before deciding what will work best for your needs. At recent sniper events, we’ve been playing with all sorts of stoves and fires and some obviously work better than others. I will acknowledge the ultimate option is gas, and I could go out and buy some sort of Ultimate Hurricane Fire Storm 3000 gas stove to be the envy of all your teammates (basically a little platform to screw into your gas canister), but gas in colder climates can be problematic – you can’t see how much fuel is left in a canister, and I don’t want to risk it getting damaged and going boom.
I’ve had a lot of fun using solid fuel stoves such as this portable wood stove and it’s great to go and gather kindling and get your fire steel out, but unfortunately, it can sometimes be a pain to really get going and gives off a lot of flame and smoke depending on what you’re burning. Fun for a bushcraft weekend, learning about different wood types and firelighting methods, but not quite as quick and easy for milsim. Alcohol ignites immediately with just a spark, so there’s no messing about, although it does burn a little cooler and needs a little more fuel.
I’ll admit gas is very quick and easy to use most and has the quickest boil time for a cup of water, but…

…I don’t actually care if it’s 12.864 seconds quicker than the next stove, because if I’m sitting down for some recovery time it’s not a race to get a cup of noodles made. What I do care about are things like weight, practicality, shape (if it fits inside pouches etc), availability of fuel, and cold weather performance because I need a solution that fits in my load bearing without adding too much load, and is quick to get going. My go-to is the Crusader Mk1 kit from BCB using Fire Dragon fuel tablets, but it’d be boring to just stick to one option all the time.
Alcohol as a fuel source is far more readily available. During the COVID pandemic I sat and made a few stoves out of drinks cans to use with alcohol and I have to admit, they’re pretty cool. Much more lightweight than anything else on the market (they weigh about 10g, less than a morale patch), they burn cleanly and just need a spark to get going. Cooking on a milsim weekend came up as a topic of discussion last night, so I figured I’d attempt to make another stove to show you how easy it is.
There are lots of designs out there if you go sifting through YouTube, but many styles require drills or circle cutters, aluminium tape and by that point you might as well just hit Amazon and buy a cheap ready made stove like this one.
Alternatively, you might glance across your desk and see a couple of empty drinks cans and a pocket knife, and maybe some scissors for ease. Nothing complicated. So let’s do a little crafting…

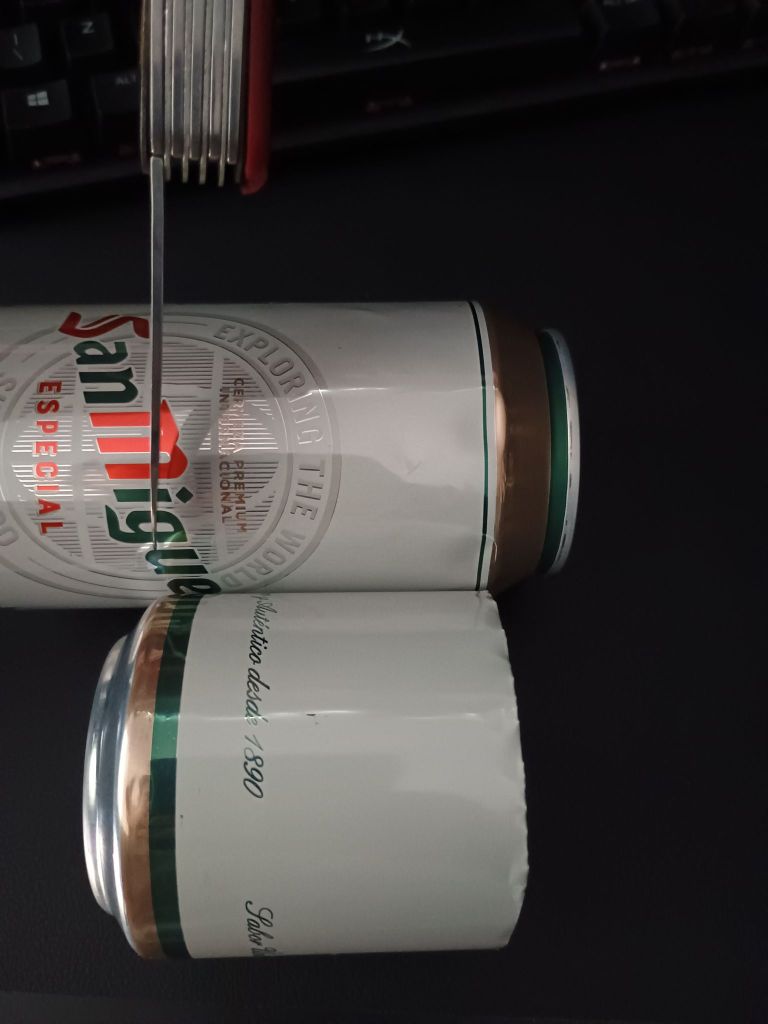
Once you have your can of choice, you need to decide how deep you want it. My previous attempts were about 1.5in/4cm deep, and I’ve pulled one out of the survival cupboard to compare. It came from a time when beer was scarce so it’s a fruit Tango can, but you can use whatever you have handy. For this one, I’ve decided to make it a bit deeper to hold more fuel, although it might not be sufficiently stable but what the hell – the technique is the same. I’m using the length of a pocket knife blade as a guide for this tall boy stove.
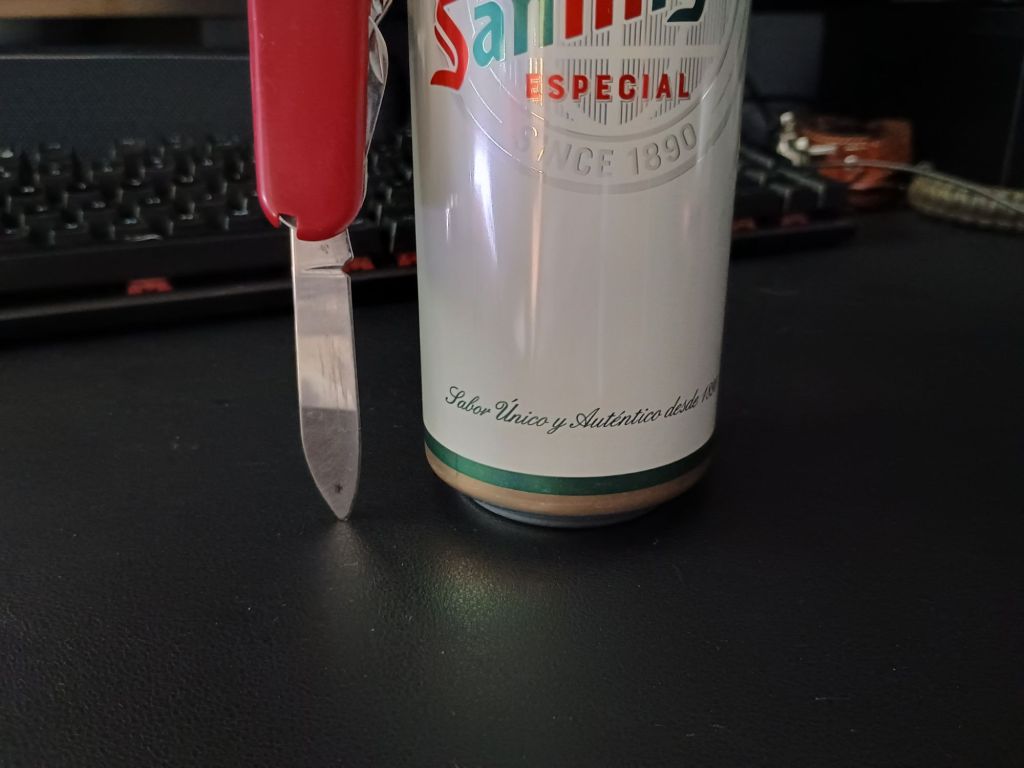
There are two parts to these stoves, a top and a bottom. Two halves of the same can, although you can drink more if you need to. Firstly we’re going to cut the bottom of the can to the depth we want. Doing it sideways like this makes it easier to rotate the can and keep a straight line with your knife.

Below is a comparison with one of my earlier attempts.

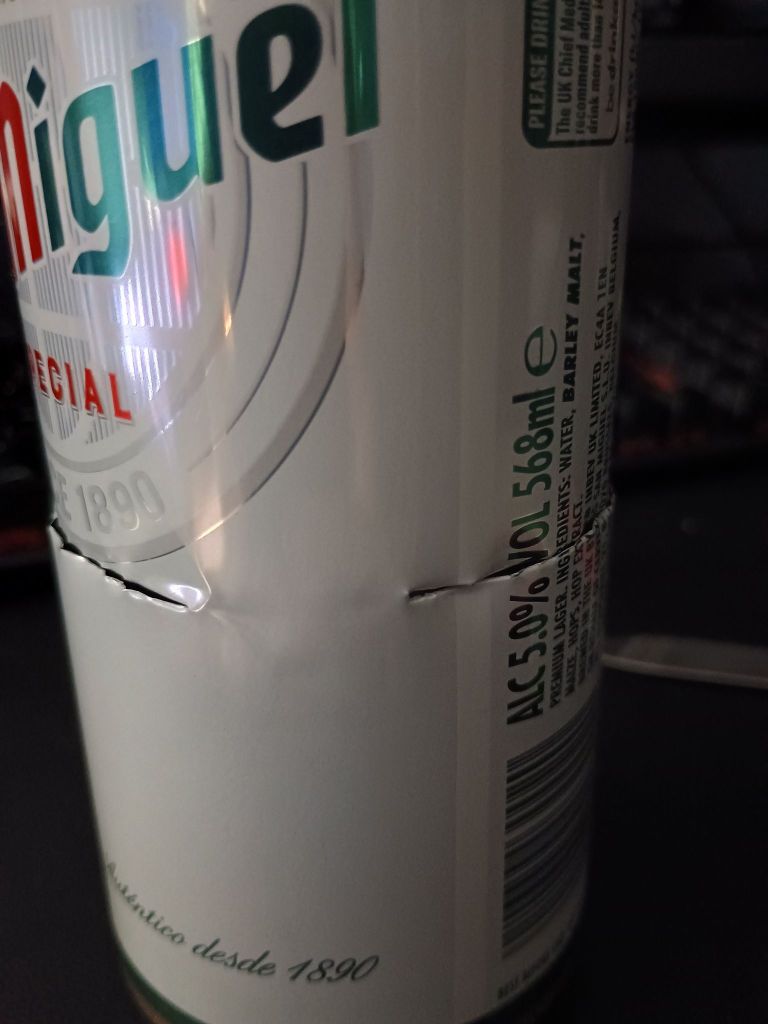
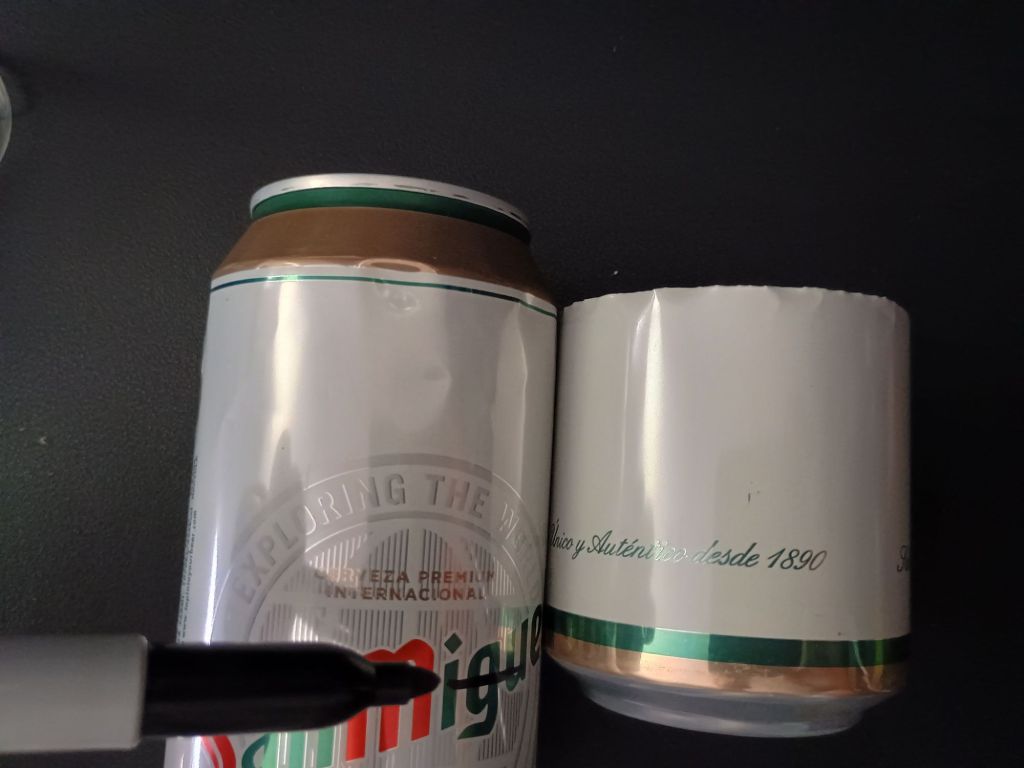
If you want to you can take a file to the sharp edges, but to be honest I’m probably not going to sit and lick the rim so it can stay as it is. What we have left now is the top of the stove, and we want to remove that top part of the can. Cut it with scissors, slice it with a knife, whatever works best for you.
Once the top is popped out, we need to cut the excess can so the top and bottom are of equal size, excluding the rim around the top. Draw a line or something.
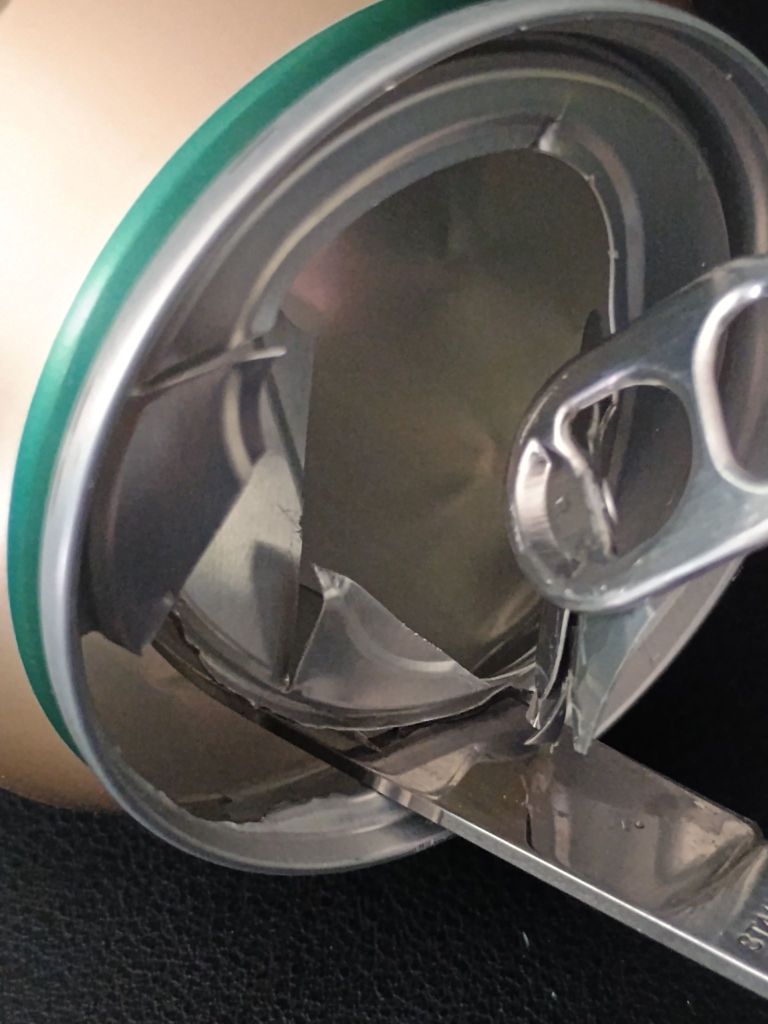
Zero points for presentation here I know, as before I don’t care about jagged edges because I’m not selling these on Etsy. What we need to do next is “pleat” the metal on the TOP of the can. Slide a couple of fingers in underneath, which is a great way to spend any evening, and use your knife to dent the can in a straight line, pressing harder at the rigid part next to the rim.
Without laughing.
Then use your two fingers to measure the width needed for the next pleat, and continue.

These pleats are going to be grooves in the stove that allow the fuel vapours to rise up and ignite when you take a match to it. Don’t cut through the metal, just score it and make some indents at the top. Also you don’t want to cut through it because your fingers are underneath and you might need those for something exciting.

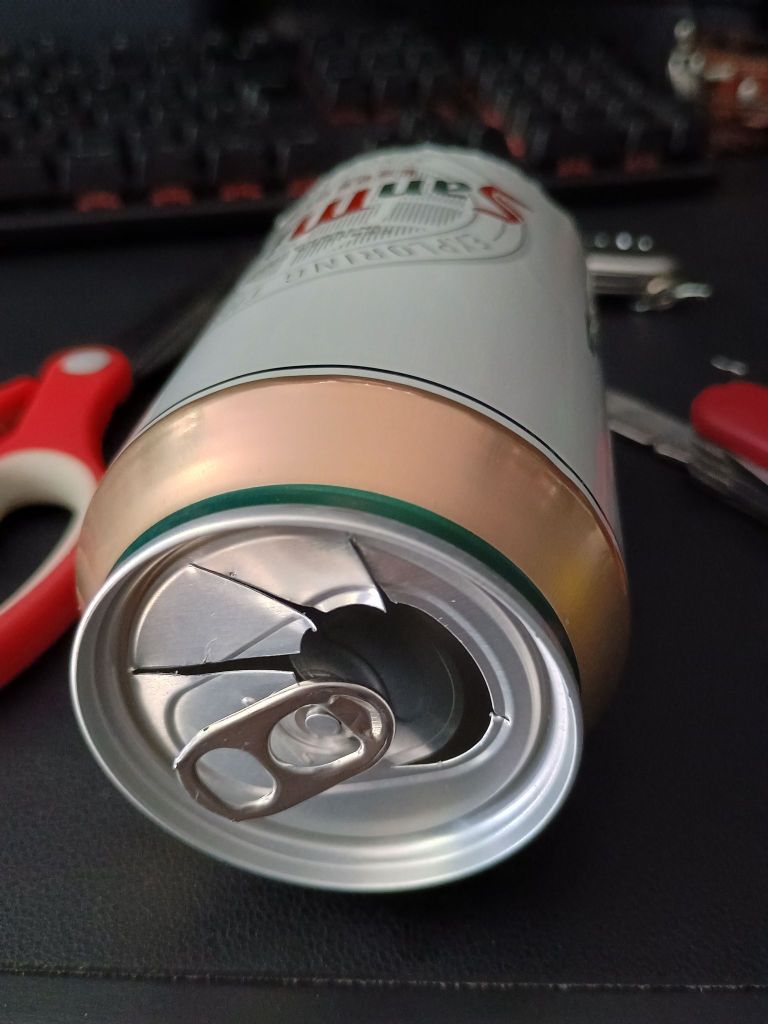
Once pleated your stove top should slot into the stove bottom.

The last step is to use a corkscrew or similar to punch a hole in for airflow, once you have your pan on the top.

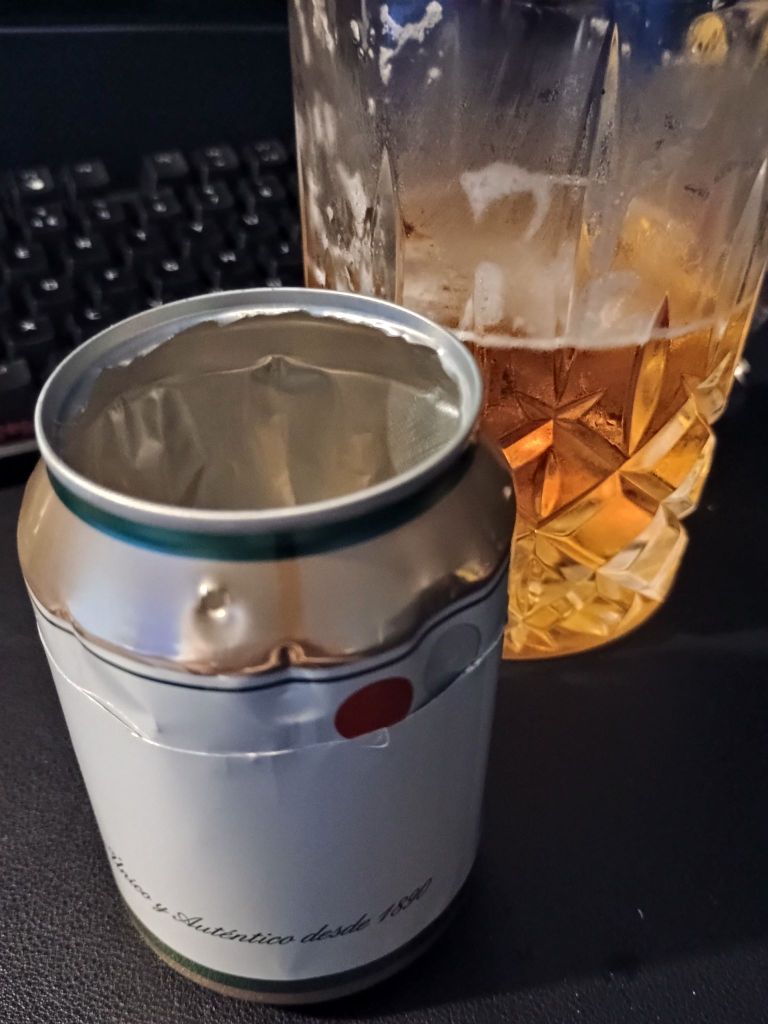
I took these two stoves outside for a little test and the bigger can actually wouldn’t light, which was disappointing. The smaller Tango can did very nicely, so all I can say is that the 1.5in/4cm depth is the better choice, I don’t know why, fucking magic or physics or whatever. It might be that the airflow through the pleats was crap because I’ve had too many beers preparing for this blog and my knifework has been poor, but I’ll try a few other ideas soon. To put the fire out, simply place a pot over the top to cut the oxygen flow and within a few seconds the alcohol and stove will be cold enough to pour back into your container and reuse, and pack back up into your bag. Can’t do that with other fuels…

I could make a 1in/2.5cm version to fit better onto an Esbit type stove frame and use that to support a mess tin or a bigger pan, but it might need topping up more regularly.

The can on its own though supports a cup nicely and to be honest, you’re not exactly cooking the last supper for all your mates at an event because that’d be an awful last supper to have and they’re blatantly not good mates if they’re just going to send you to your death with a cup of noodles and some ketchup.

As a solo cooking option, the alcohol stove is very reliable and more than sufficient to boil up a cup of water for some pasta or an MRE. It weighs nothing, bar the fuel and that works out at about 2 tablespoons of alcohol per cup of boiling water (ish) so you don’t need loads to do a couple of meals in a 24hr period. It packs away easily; here’s a couple of pics of the larger one inside mess tins with a small fuel bottle, which leaves plenty of room for cutlery and a cloth for cleaning, plus a lighter and whatever else your kitchen needs.


Yeah I know it’s not as cool as a £30 titanium gas stove, but it costs pennies, hydrates you for a short time, and is a nice little evening project. And in some conditions, alcohol works much better than other fuels so it’s a great option to have. Why not have a go?
Send me some pictures in and I’ll add them to the post.
