Last month, I was very kindly sent a big box of Haloscreen and the new Nanoscreen fabric to test out. I thought i’d spend a rare day off making a quick rifle wrap to see how it works in the local woods, and do a guide to making a quick and easy rifle wrap for your gun at the same time.
The magic of Haloscreen and Nanoscreen will be covered in a blog soon, once I’ve compiled some more pictures. Of course, you can use many different materials and techniques for the camouflage depending on your local or intended environment. It’s always important to tailor camouflage to your needs and not just go and buy everything you see other guys using, otherwise it just won’t work. Being a good sniper is all about constantly analysing your environment and looking to improve your kit accordingly.
Rifle camouflage, for some reason, tends to be largely ignored in favour of shiny black guns, or funky paint jobs, and yet usually it’s the first thing you see of a sniper. Honestly, the lack of effort on some given the effort on the ghillie suit makes me cry, often with laughter. Now, for a lot of years I did rely on camouflage paint jobs, and I was damn proud of most of them. But no matter what I tried, or how matte the paint was, the rifle body always had a sheen to it because it was a smooth surface, and you can’t hide that with a smooth paint job even if you stencil an amazing pattern on. Yes, it looks good, but it doesn’t work. In later years, I switched to camo tape, which had the added effect of making the gun stock a bit quieter when shooting by absorbing a little vibration. My tape of choice is the Jack Pyke Tough Tape, which has a furry fabric finish to it that kills that shine, and the colours are pretty decent too. The only other tape I’d ever recommend using is the British Army Sniper Tape, which is plain but you can decorate as you need, although it can be the better choice and you get a MASSIVE roll. Was I happy with it?
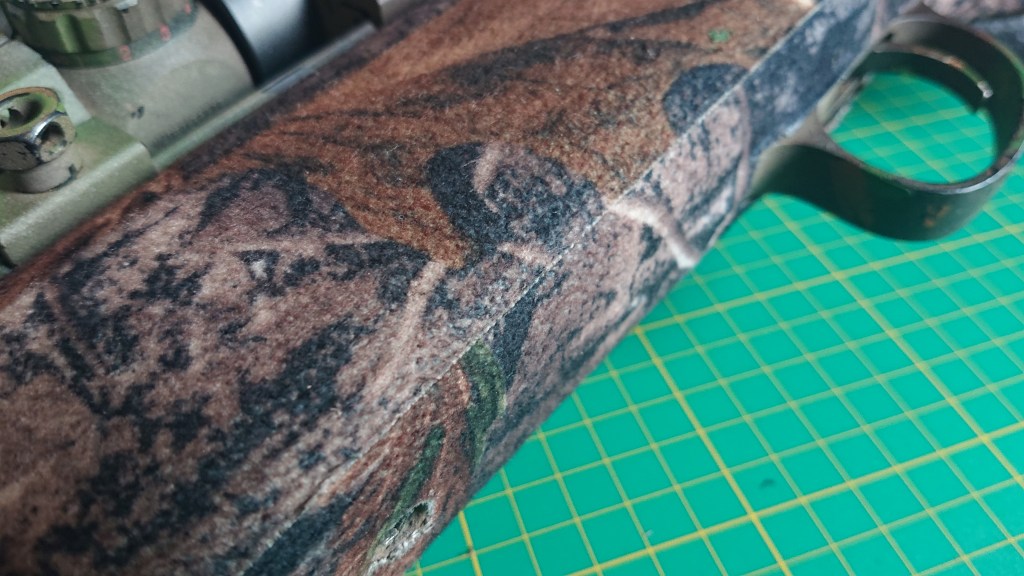
Nope. It’s better, but still not perfect because the rifle shape still exists.
Rifle wraps, on top of taped rifles, are the answer. Simple and straightforward to make, they can be made to hang down from the rifle and disguise that long thin barrely shape, and if you use a mesh fabric for it, it’s dead easy to attach 3D elements, like Haloscreen, to help break up the shape further. It’s just a big, baggy sleeve and you could then make a few for different seasons and environments.
Here’s how…
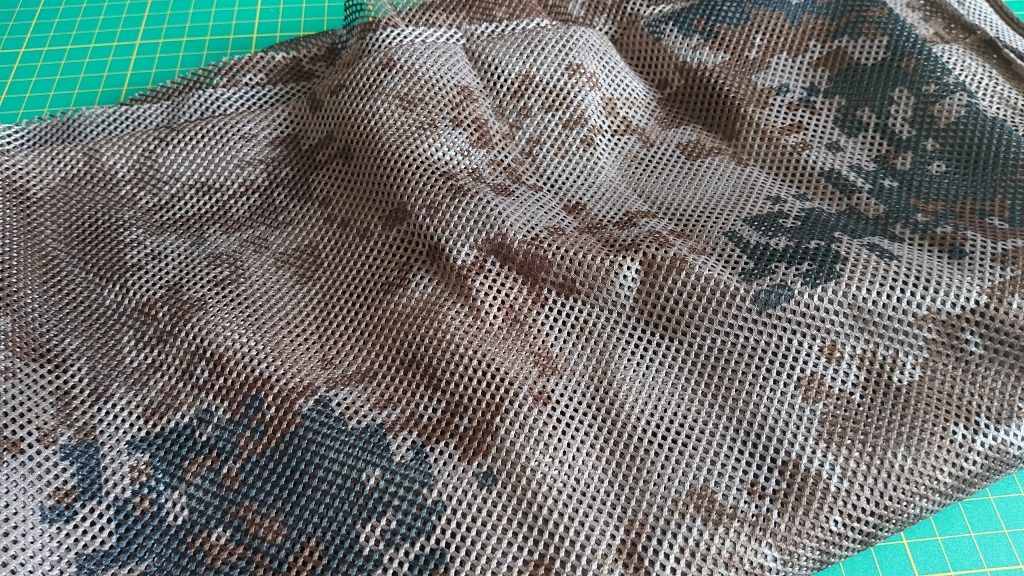
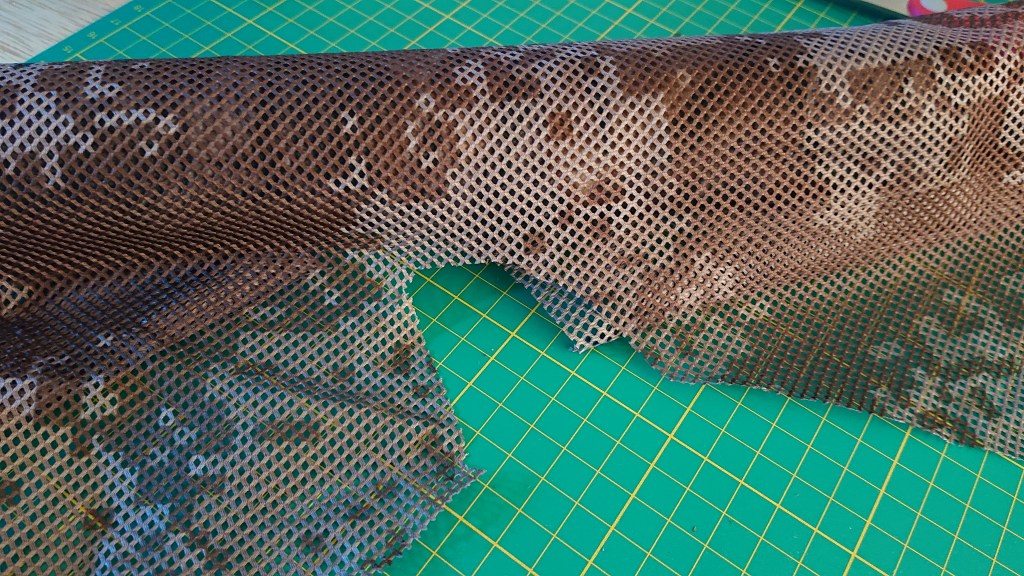
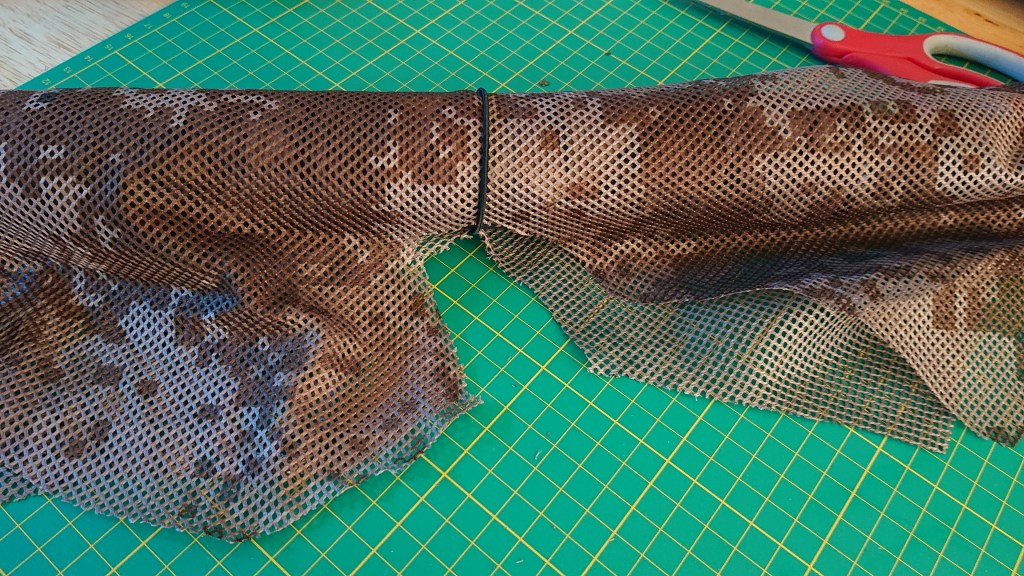
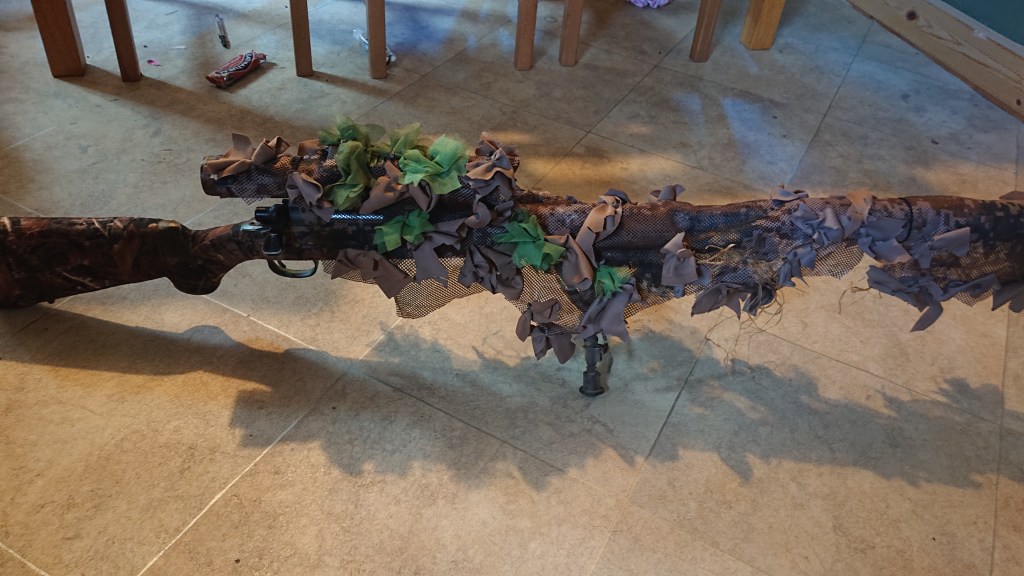
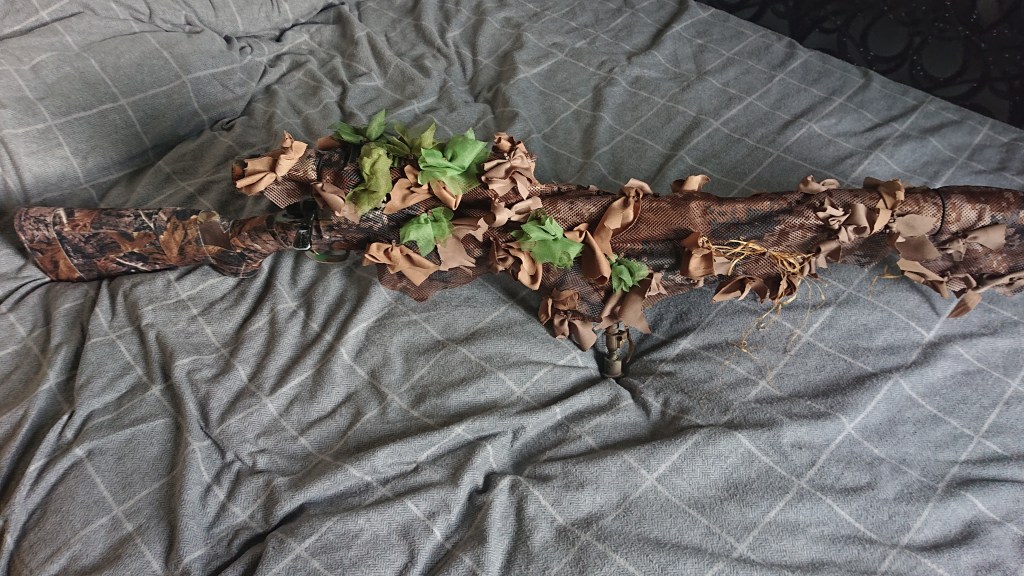
First up, you need a base mesh. I got this off Point6 who found it on AliExpress, and cost less than a pack of beers. I’m glad I made the right choice, and bought both. It’s based on the Chinese Type 07 Arid, from what we can tell, and has a good mix of dark and light browns which should match the dirt nicely. I put one edge over the top of the rifle so it just reaches the table on the other side, and then cut it to match. Not that I have a Harris bipod attached here, I don’t use it in games, but it does help with tech and camouflage work like this.
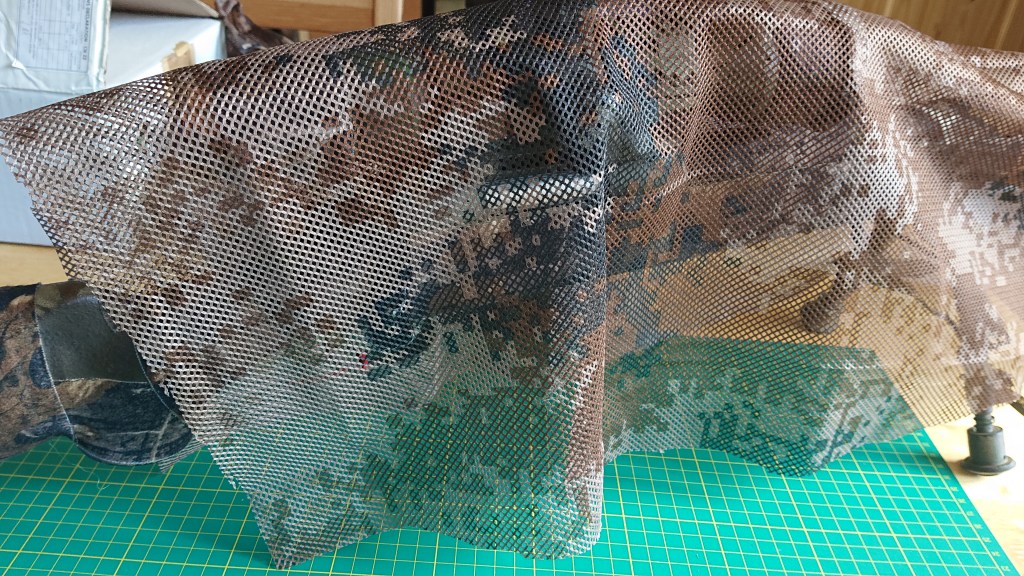
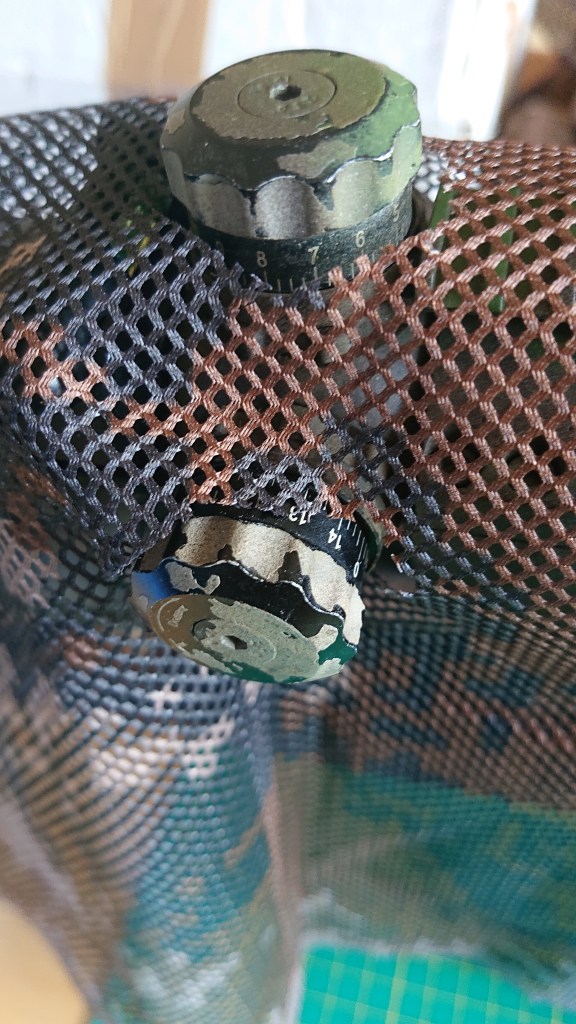
Cut a straight line just in front of the scope so you can see out. The mesh isn;t too bad to look through if you decide not to, but I have a lens cover to go over so it’s not needed. Don’t ignore that big black scope circle ever, always try to soften the egdes. I’ve cut just in front to create a little “hood” that drops down and helps hide the circle outline of the front of the scope.

Scope wheels are handy to hold the whole thing in place anyway, but make sure you can still operate the bits you need to, especially the bolt. The wrap shouldn’t cover the bolt handle or interfere with the movement of the bolt either. Or any other accessories you might need access to. Make sure to cut around them.
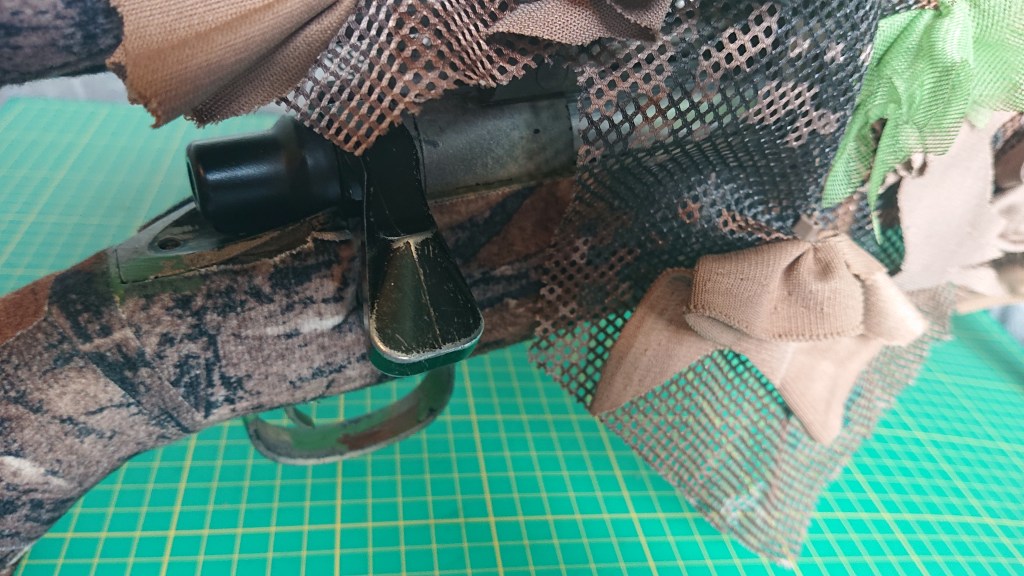

Also, straight lines are bad, so get the scissors out and do something about it. None of this needs to be neat or tidy either. Not that I’ve cut upwards around the magwell, so I can easily get mags in and out of the gun. The rest is just designed here to get rid of that tube shape from underneath; obviously you can’t do anything above because you’ll need to see down the scope at all times, and that’s vitally important to remember, which is why it’s in bold. Too many times I’ve been with snipers who actaully have camouflaged their rifles, only to have put too much on and they’re forever having to move stuff out the way of the scope to be able to shoot. I’ve experienced it myself with raffia that I had hanging down from the barrel, but in a breeze it floated upwards and obscured my view, so I’ve learned to be careful with what materials sit where.
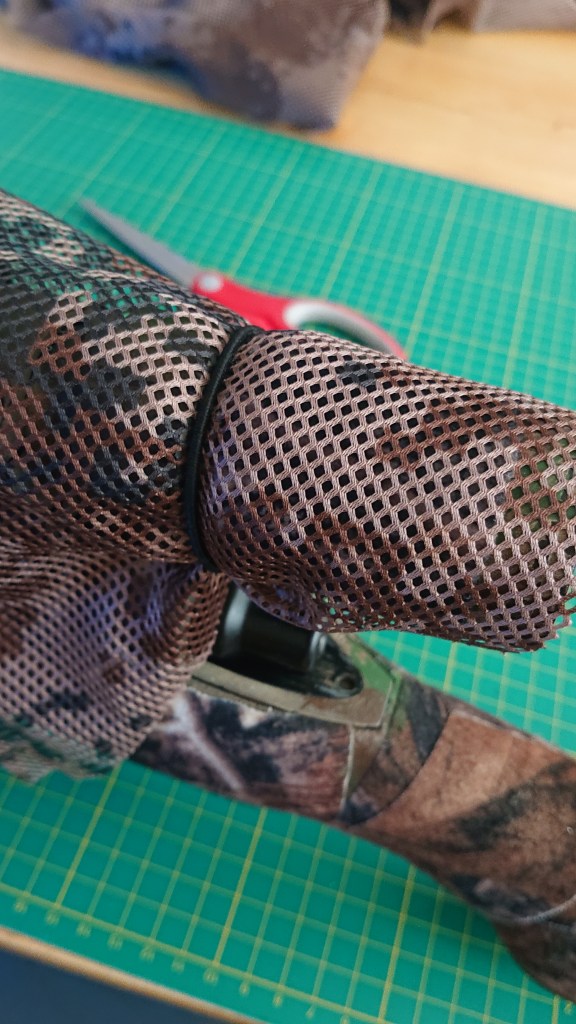
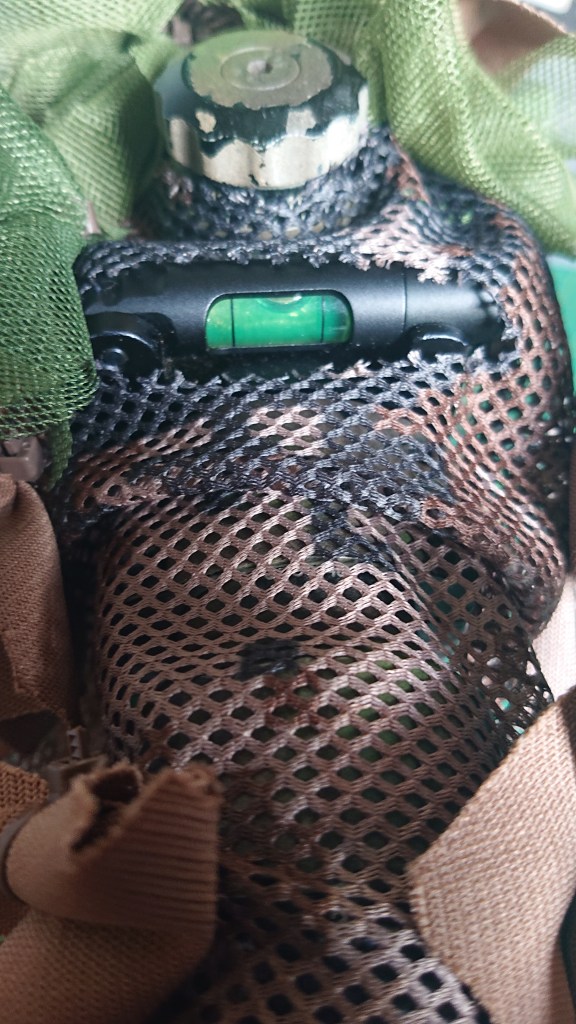
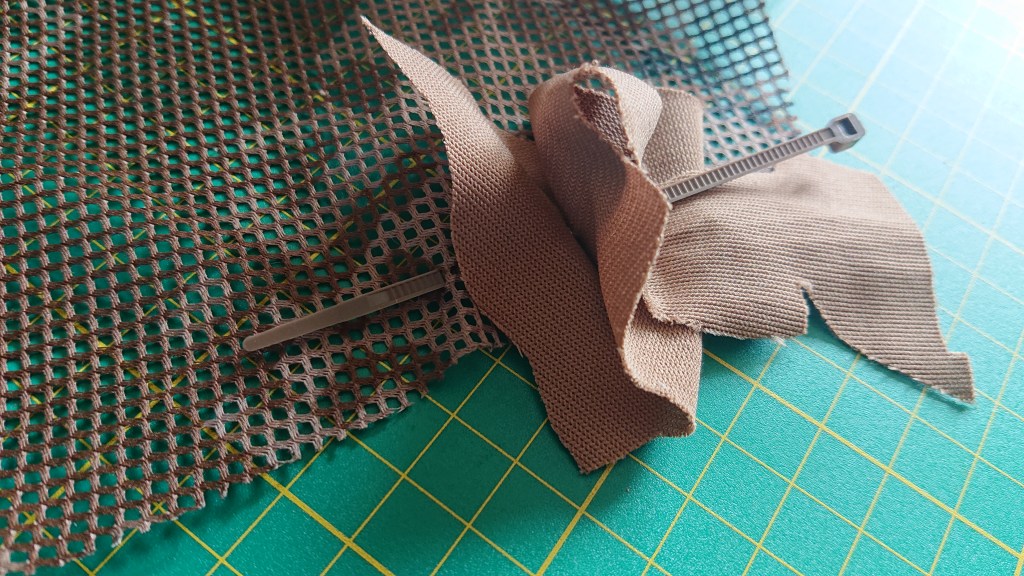
The whole thing is held in place with a couple of hair bobbles, one at the front of the barrel and one at the back of the scope. I’ve cut a notch where the barrel bobble sits. This will also stop the wrap from bunching up if you do use some form of elastic. Because I run a massive fat silencer, I’ll be getting some velcro to hold that all-important front end in place, but I also want to do some seperate camo for the silencer anyway – it’s size presents a similar problem to the scope, in having a clearly visible circle. It doesn’t stay on the gun unfortunately, purely because my gun bag is a little small.
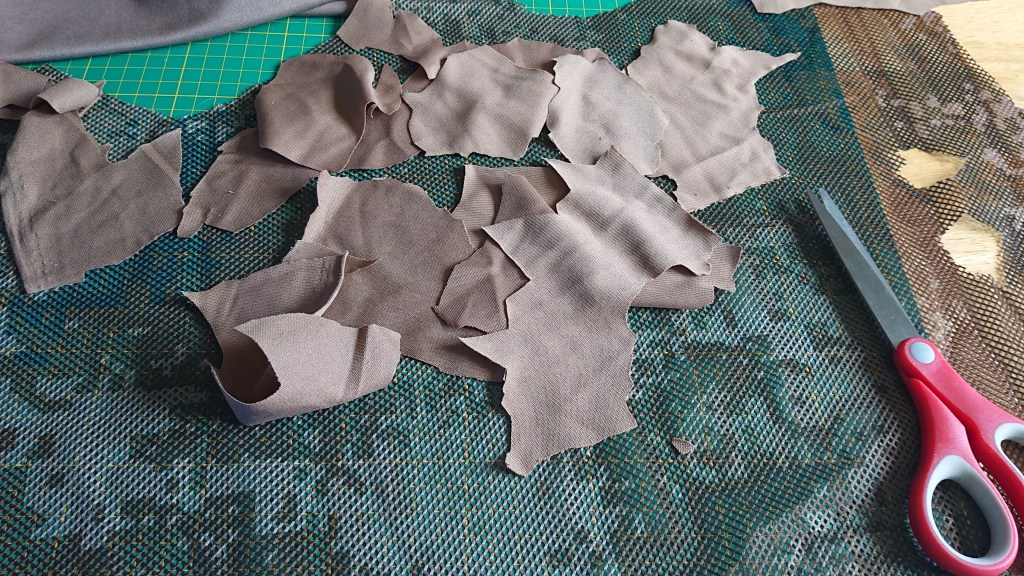
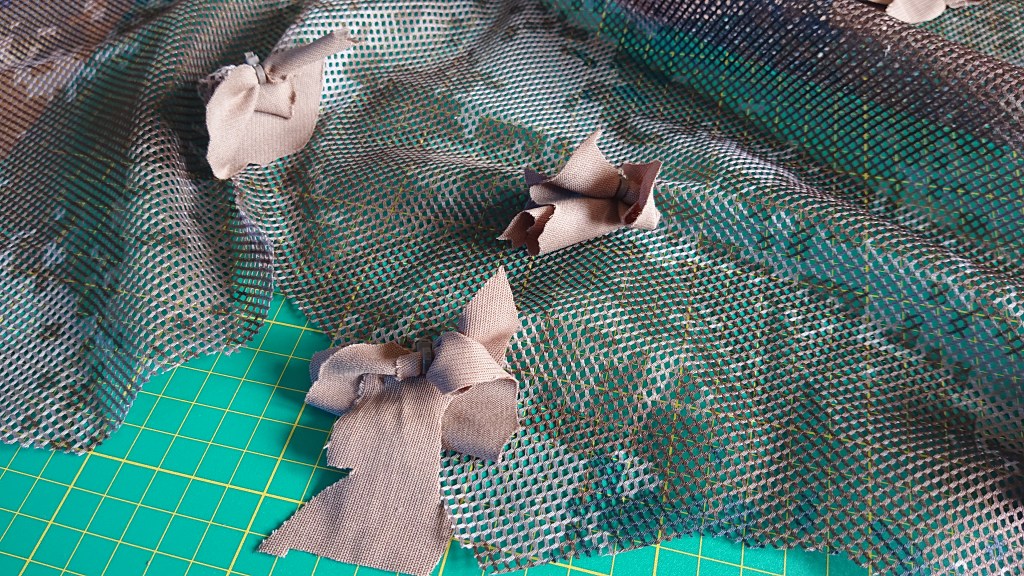
For decoration, as I mentioned at the start, I’m using the new Nanoscreen material from Le Covert Sartorialist to mimic the dead leaves and debris on the ground. Haloscreen will be added to mimic the greenery, and I have a couple of other materials to add on afterwards – coconut rope and raffia to replicate sticks and dead grass. Of course, you’ll need to tailor your camouflage to the season and environment required, but of course you can make a few of these to help you adapt. If you do keep a stock of camouflage materials in your house, the only real cost of a wrap is the base fabric, which can be found pretty cheaply if you know where to look.
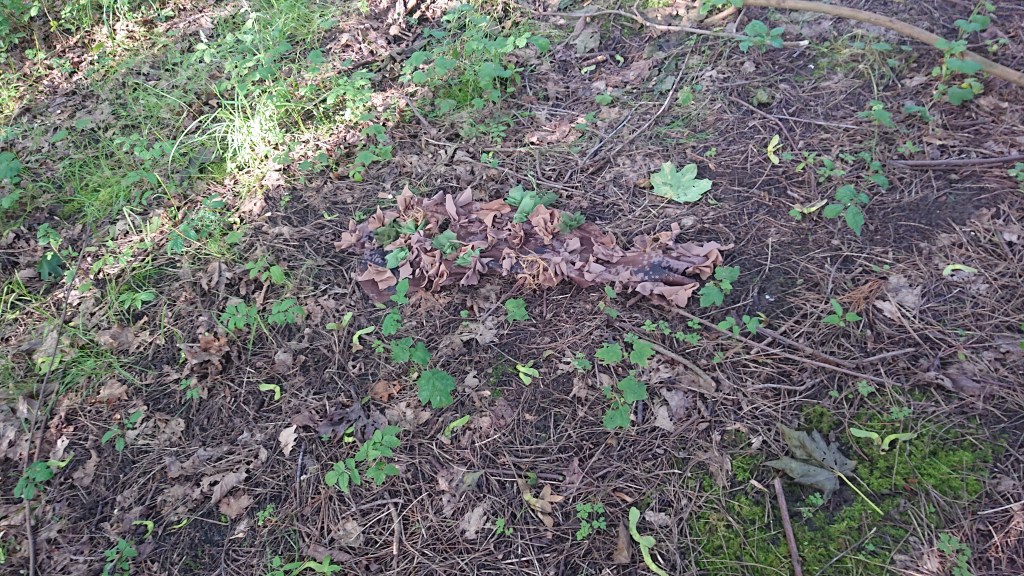
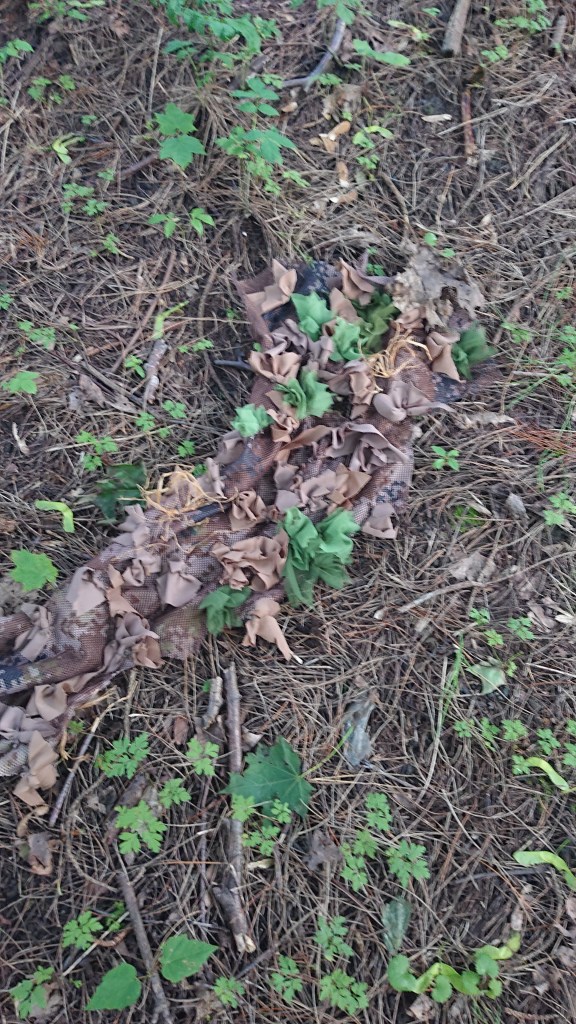
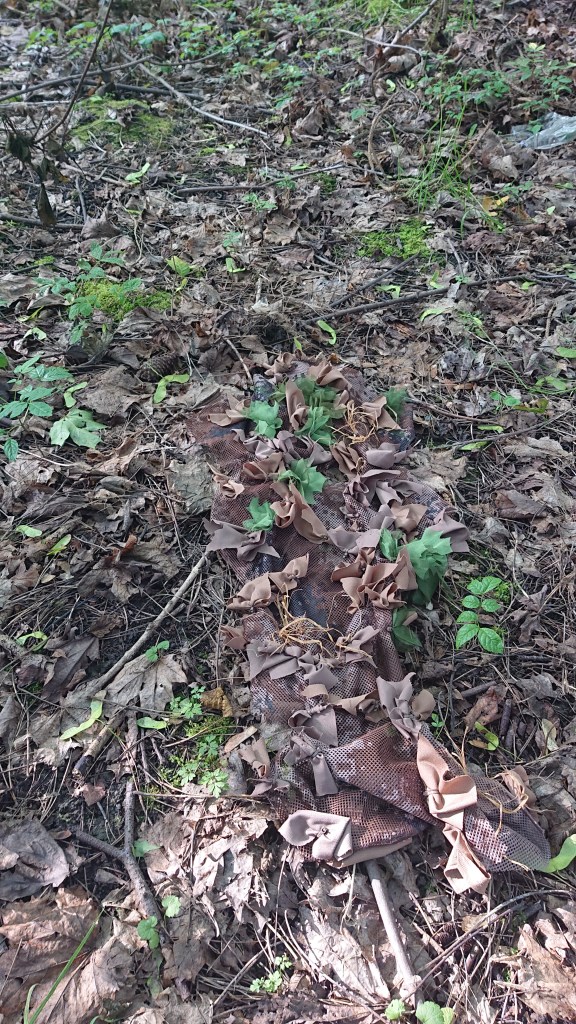
Here are a few pics from testing, a couple of it on the rifle in my house (note that where I am in a city in the UK, I can’t just go around the local area with a rifle, even camouflaged), and I’ll chuck a short video on my YouTube channel here so you can have a look at it.
ALWAYS TEST YOUR CAMOUFLAGE OUTSIDE. After this first testing, it’ll be back in to change a couple of things, add more materials, then back outside to test again. At the moment it’s probably about 25% done, but that’s better than doing 100%, realising it’s totally wrong, and starting again…

One thought on “Quick, Simple Rifle Wraps”