Any successful ghillie or camouflage requires a certain level of understanding beyond just gluing leaves everywhere. You need to understand camouflage in order to be able to use it properly, and there are some very very long (and pictureless) reads available online to sift through. Alternatively, I’ll do a series covering the key ideas in a much shorter format, with pictures.
One of things most often overlooked in the community, and therefore the best place to start, is understanding the differences between micro and macro patterns and how to use them correctly, to make camouflage more effective. Basically,
- Micro is small shapes
- Macro is big shapes
Fantastically simple and we could end it there, but that wouldn’t be as interesting. Let’s talk patterns. Or at least, I will. Rummaging through my camo cupboard, I’ve pulled these two out as examples;
On the right, the photo type micro pattern of Jack Pyke (evolution pattern I think?) which is the sort of thing we see printed across so many leaf suits, from the cheap Chinese Yowie suits to the “branded” versions from players like Novristch and Sochi. On the left, a classic British DPM macro pattern.
As more and more camouflage patterns are developed, there are some like MARPAT that actually use a micro pattern (lots of little shapes) that group together to produce bigger macro shapes, so they kind of cover both. So what difference does it make to us in airsoft? Quite a lot actually.
We’re not working at military ranges (500m+) and we’re not hunting deer, which are the two biggest drivers of camouflage patterns. As airsofters, we usually tend to just borrow the military stuff, or some (especially snipers) will try and “think outside the box” and go for pretty leaf patterned suits in the belief that the photorealistic images naturally fit the environment better. But that’s not necessarily the case…
The difference is distance. If you’re up close, such as posing for a photo at 5 metres, the micro patterns such as the woodland print types work fine, and it’s these posed photos we see everywhere that make it look like it’s working and that’s great.
However…
At a distance, say 20 metres and beyond, our eyes can’t see the tiny detail of the patterns that makes it work, and these little micro patterns blur together. At 40 metres, the detail is lost and then it becomes a solid outline of colour, which may work if the overall colour at this point matches the environmnet perfectly, but it does leave you with a human size and shaped silhouette. It’s also worth remembering that a lot of this hunting camo is designed for animal vision, not human vision, and it works differently.
So, switching to the macro pattern, here’s a pic originally taken at 10 metres of me enjoying a family day out in the woods, where obviously I had to test camouflage, because that’s what family time is for. This is US woodland pattern (it’s not actually called M81 – M81 is the 1981 issue, not the pattern. There, you’ve learned something else).

As you can see, the colours aren’t too bad but what is working better here is the breakup of the human shape by using high contrast colours (tan, green, black) with sharp, distinct edges between the shapes, and macro shapes that the human eye can still see at a distance. This is extremely important, as us airsoft snipers should, certain YouTubers aside, be operating beyond the 20m engagement distance from enemy players, up to around the 80m mark. This is where we need our camouflage to work best, not at 5 metres for vanity pics. Imagine this very basic US woodland pattern with 3D elements to break it up further.
The sharp, distinct edges and high contrast I’ve always felt worked much better than something like the ATACS patterns, which are organically blended together to remove those edges. What you get at a distance then isn’t broken up, it just all blurs together again into one outline, moreso when all the colours used are very similar, for example the ATACS FG is a green pattern that just uses a lot of greens.
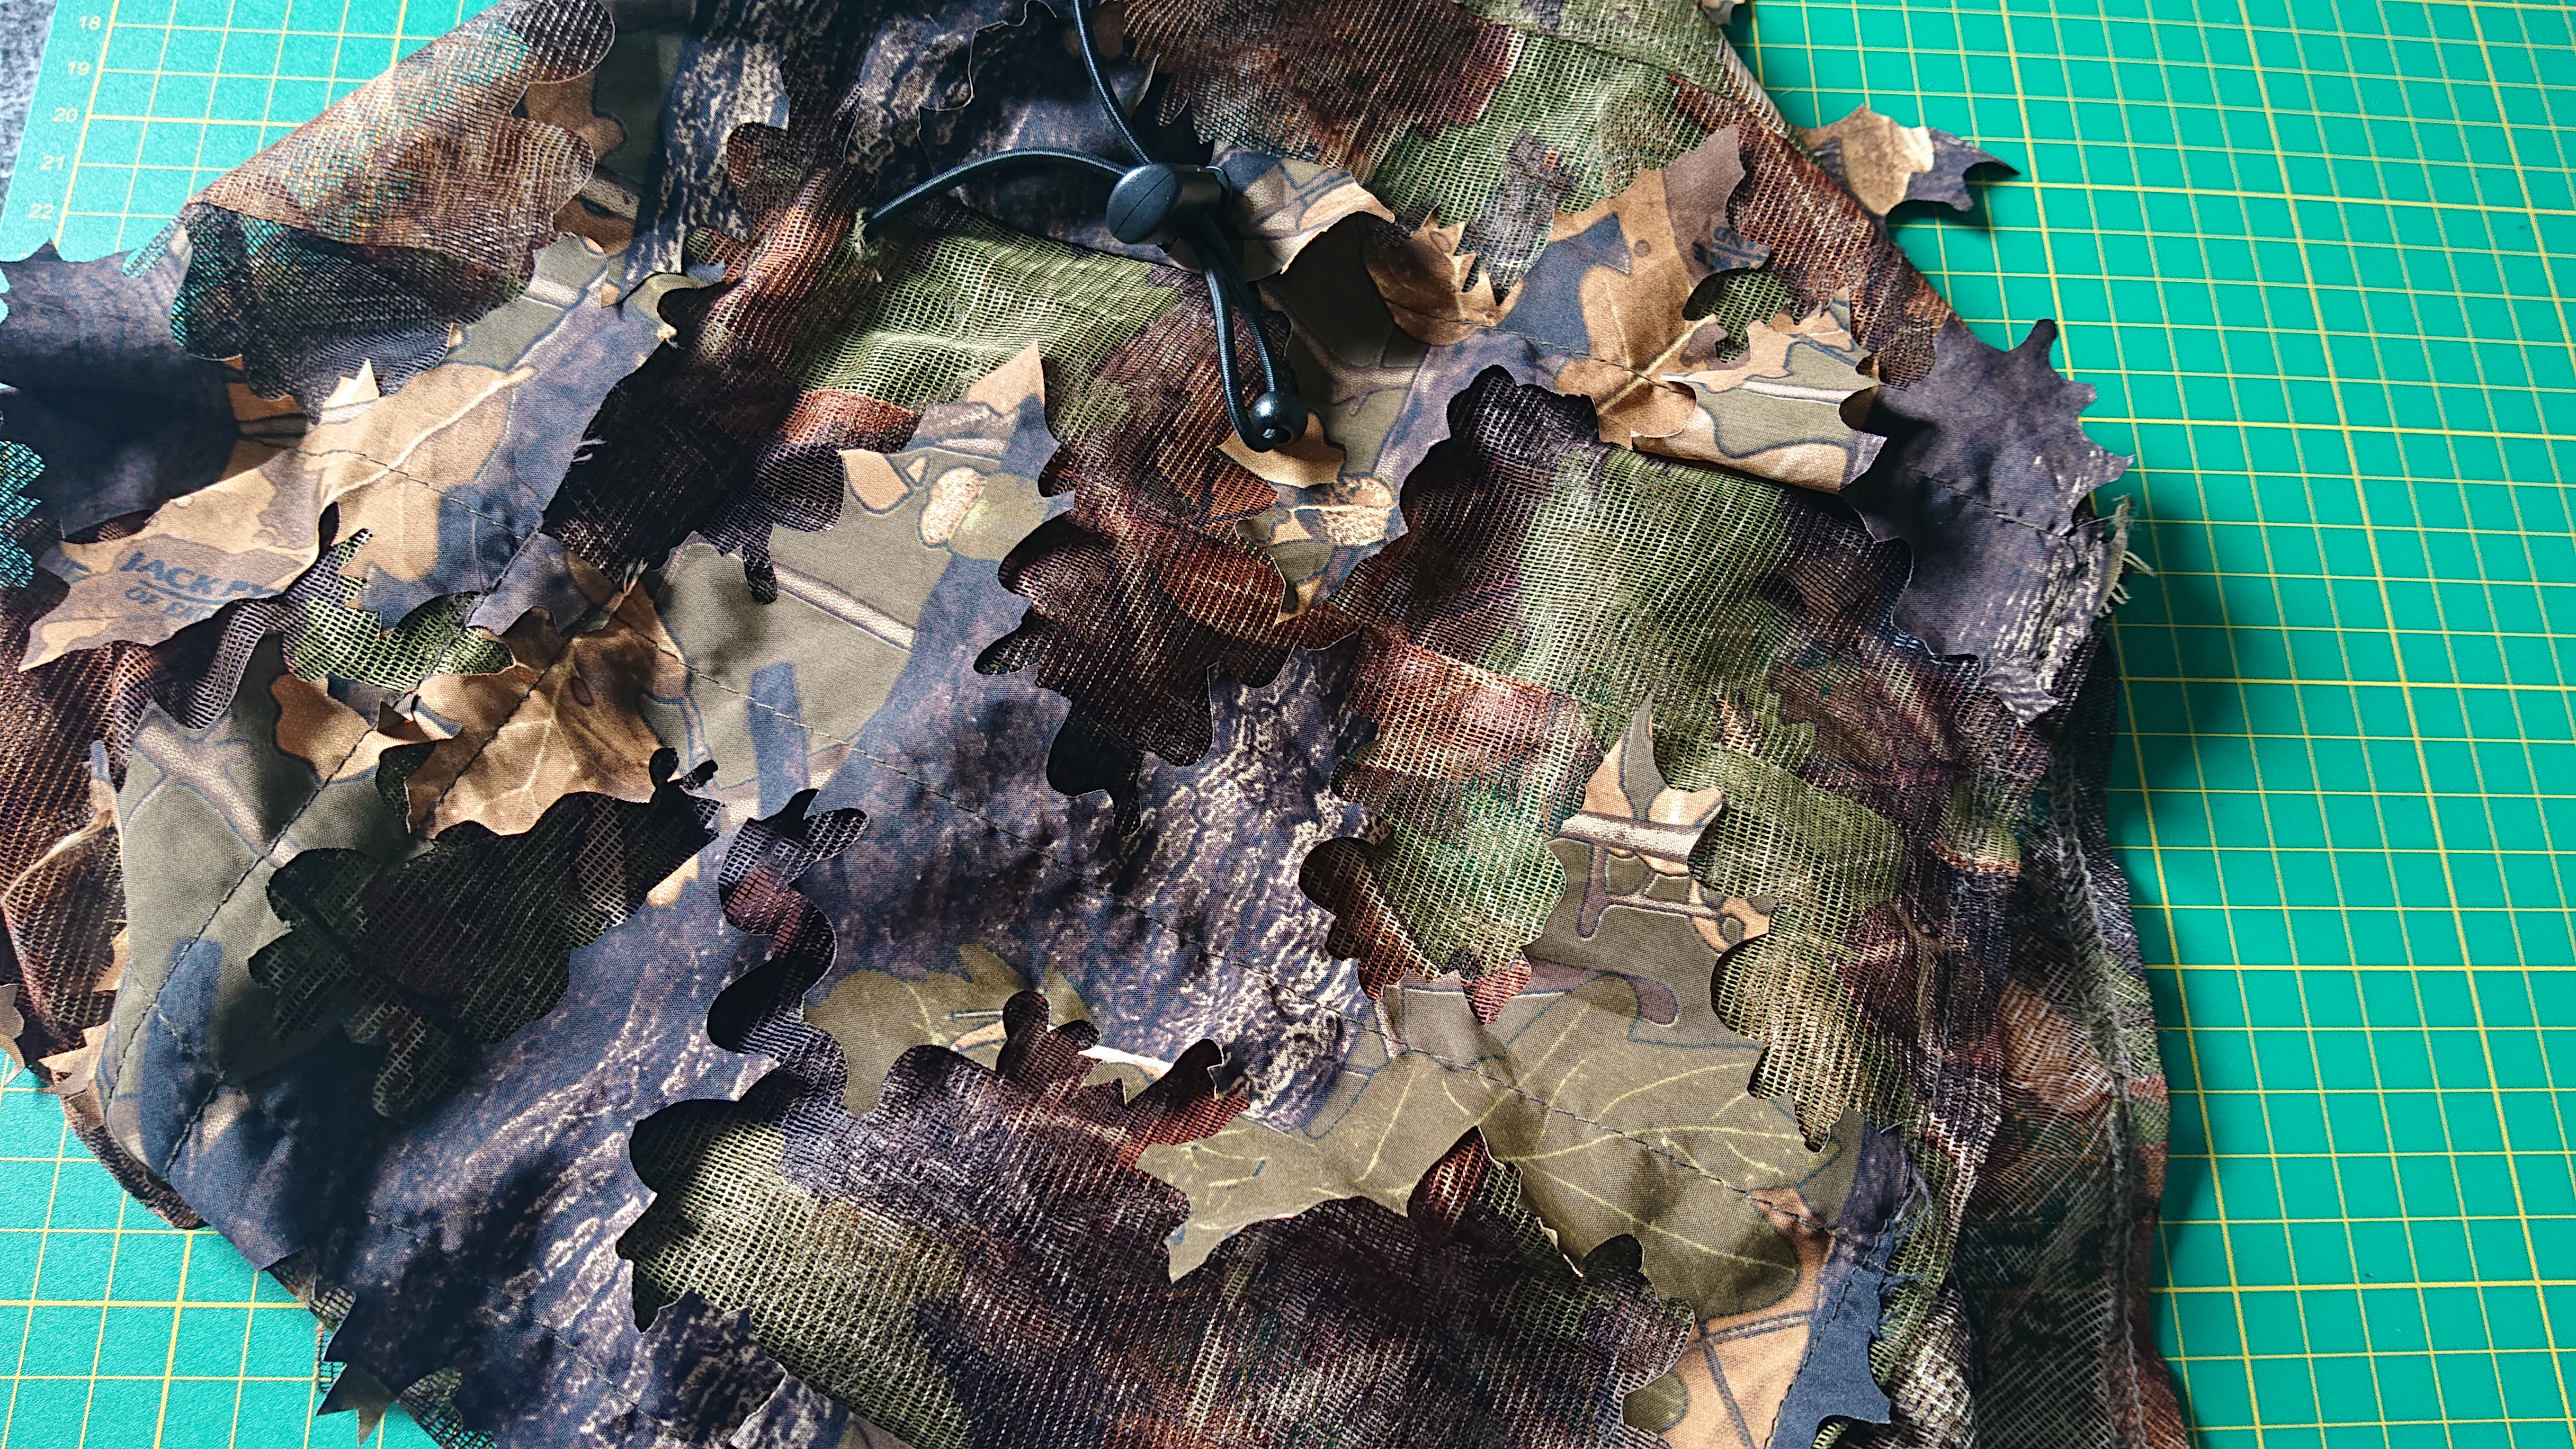
If you needed something that works at both, then some of the newer patterns (plus flecktarn, which is an older pattern but still works so effectively) use small, micro shapes to build into bigger patterns. At closer ranges, the eye will see the smaller details which, if the colours are chosen correctly, will work well up close to break up shapes. At distance, these little shapes will merge into bigger shapes, creating a macro pattern. A great example here from Point6 is his MARPAT mesh that will become his new ghillie (more on that on my YouTube channel)

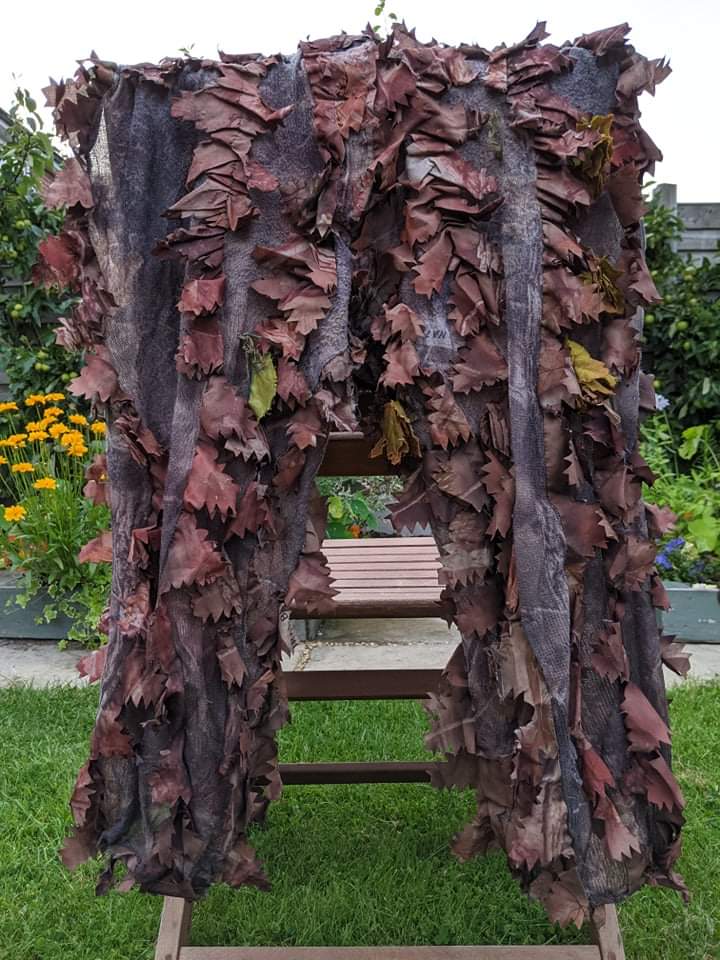
Compare the way the MARPAT on the left uses smaller shapes that join into bigger shapes to make a macro pattern, although the larger shapes are much smaller than US woodland or DPM pattern. On the right, his Jack Pyke suit, custom made, where already the intricate detail is starting to be lost, and the similar colours are blending together into one solid brown mass.
Although colouring some of the leaves and adding perhaps green artificial vegetation to the leaf suit here would change the pattern and add contrast, the background pattern will still be visible and this is where it fails with breakup – the silhouette remains behind the added elements. Hence the new Point6 suit will be based on a more reliable pattern on the base suit, and then improved from there (If you want to learn more about how he’s building his suit, we did a great podcast on it crammed full of good info and I’ll put the link here. A great way to fill your evening with great info throughout).
Why does the more contrasting macro pattern not silhouette the same as the woodland print? Breakup, or disruption.


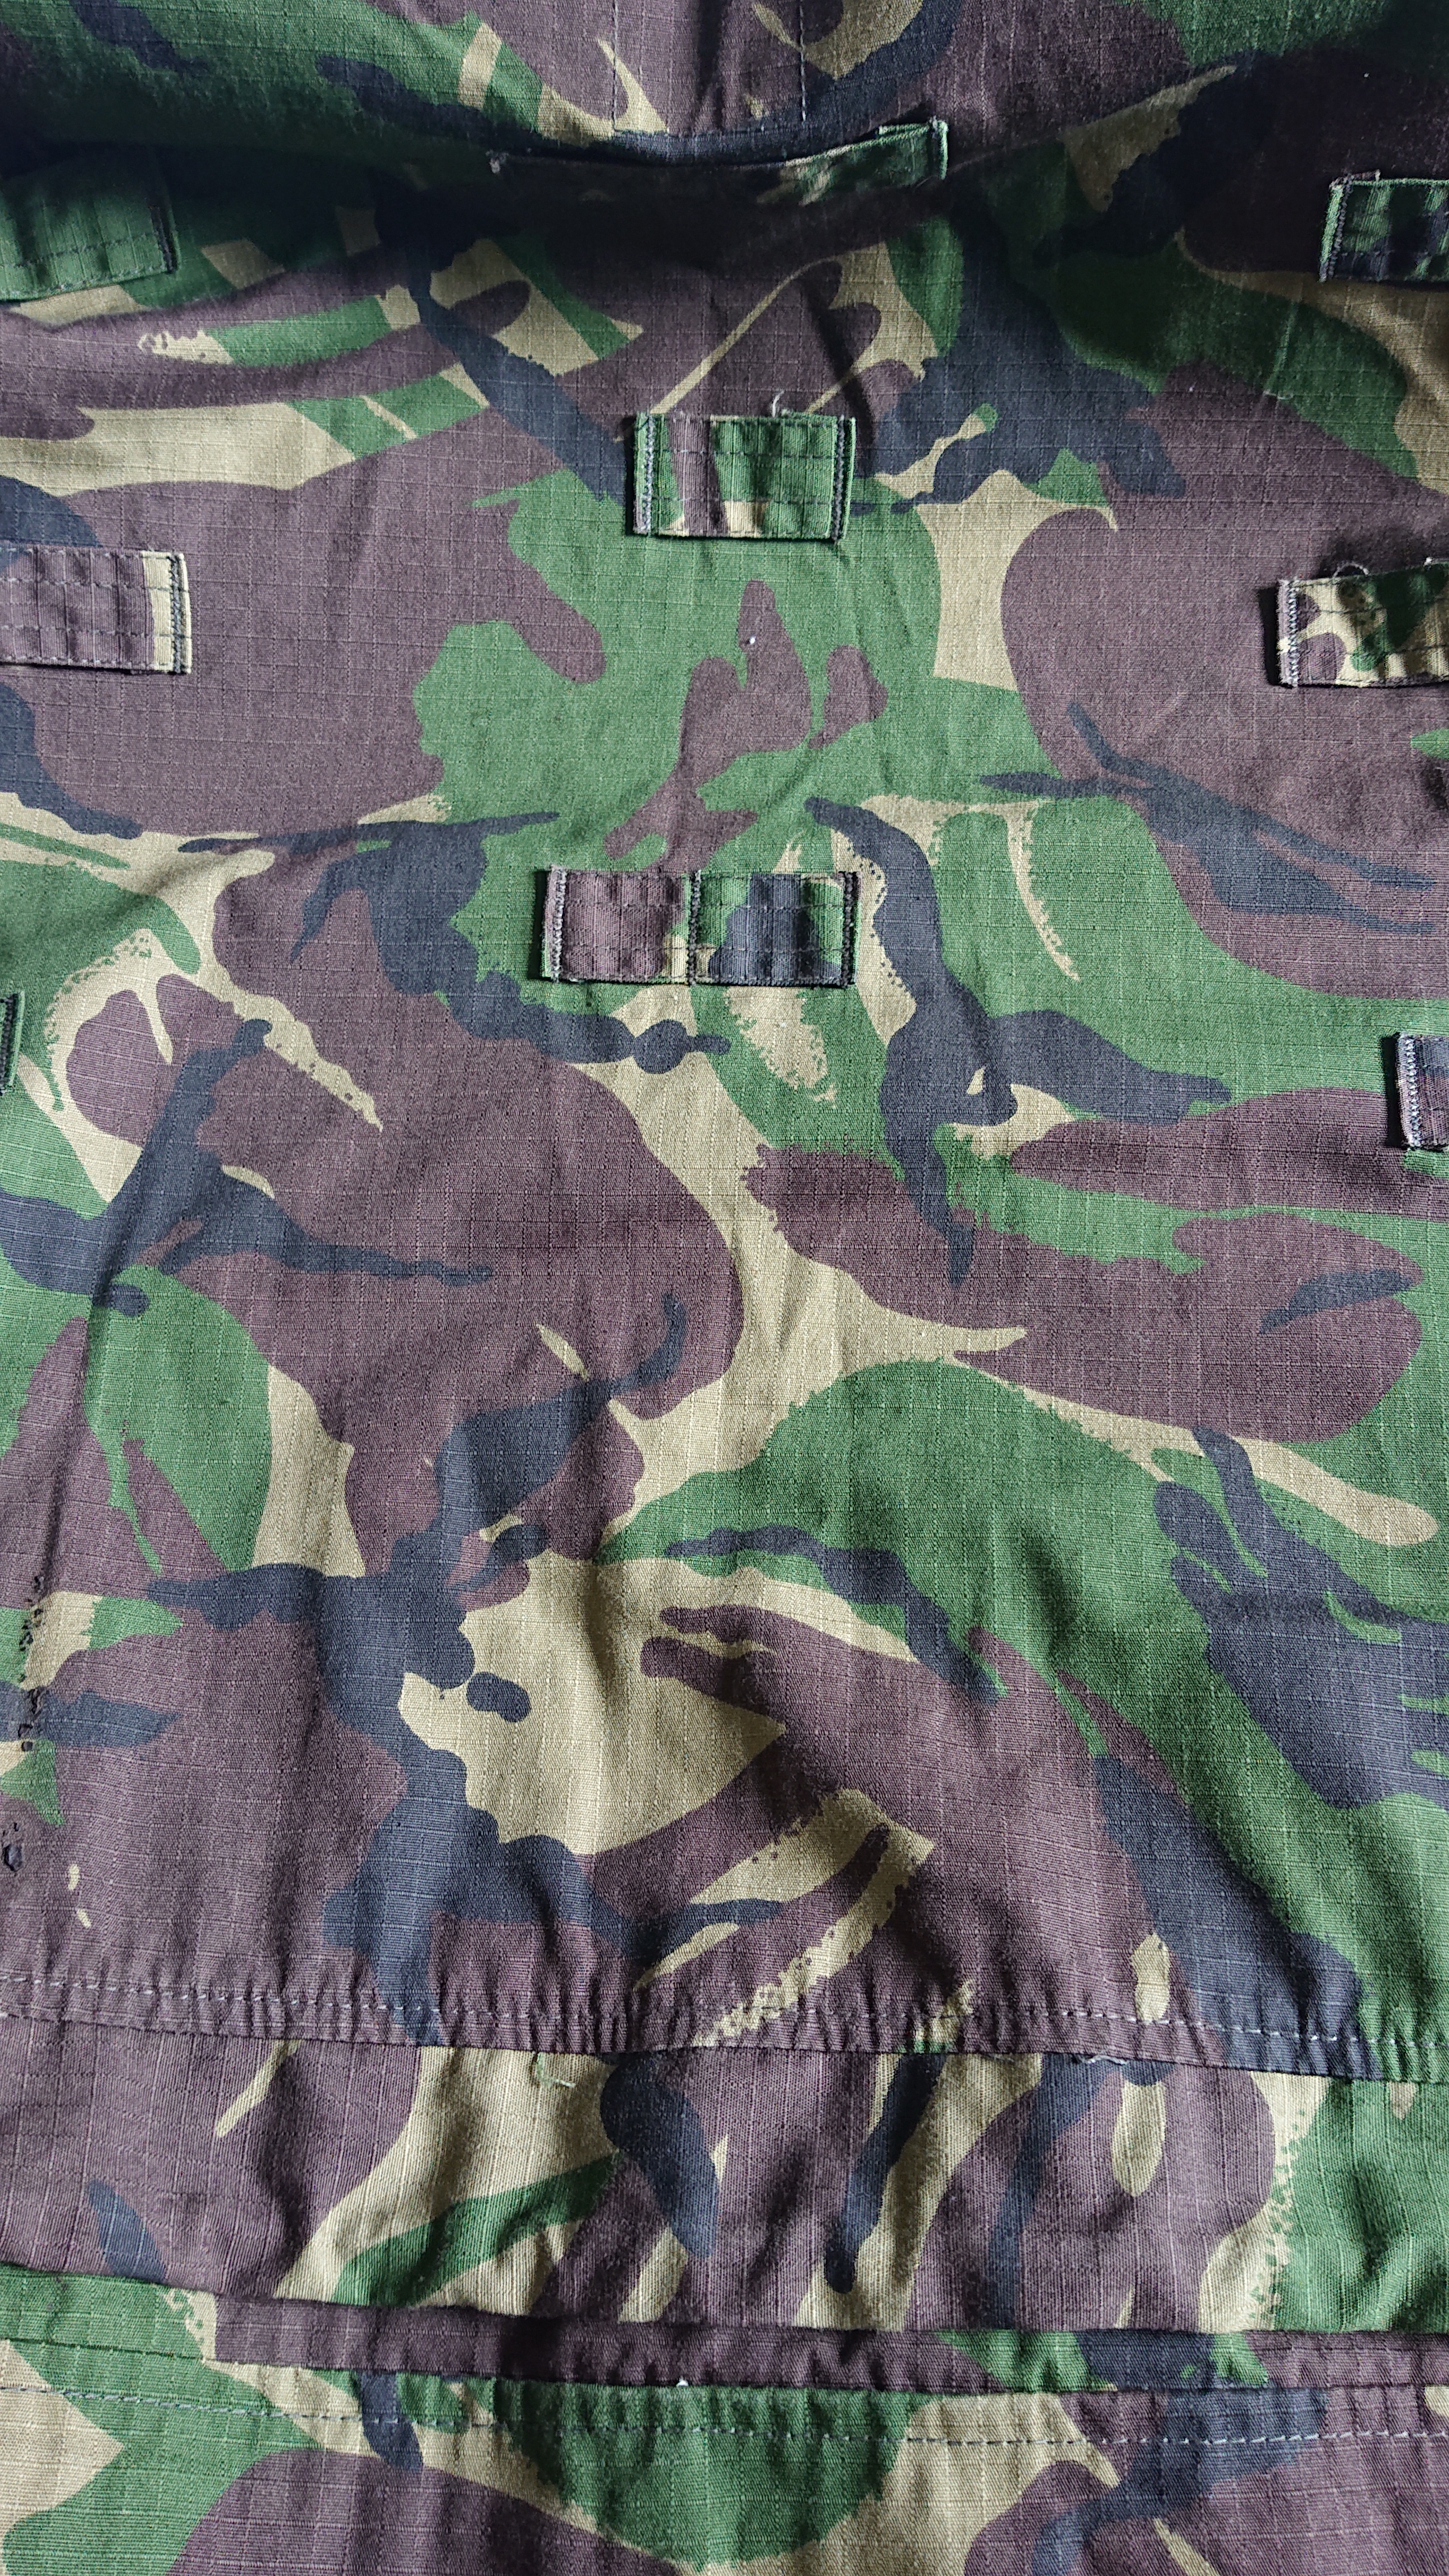
Here’s my dpm smock folded, as you would see an outside edge as an outline anyway. If you follow that outline, it isn’t a solid colour or a micro pattern that would blur into one. The edge goes from tan, to green, to brown, with black shadows in too. There’s no straight edge to outline any shape.
Micro vs macro. Hunting leaf patterns vs military blobs. Although there are a few who think they’re pioneering the use of hunting camouflage in airsoft to better hide themselves than cheap, widely available surplus kit, they’re actually missing the point of a lot of it. Additionally, the less specific shapes and textures of the military patterns actually help make it more versatile across a wider range of environments, if of course you choose the right pattern and colours to suit it best.
There are some micro military patterns too, this isn’t a perfect divide between hunting and the army, that use micro patterns such as the raindrop pattern the Germans used in WW2, and although good colours do suffer the same problems as the more intricate modern ones. Likewise, there are some macro pattern hunting camouflages too, and they’re not bad but you usually find they’re more expensive. But ignoring those exceptions highlights the differences a bit better. Hope it was easier to digest.
Start off correctly, and you lay the foundations to continue correctly…

Hey mate, nice article and a great video too. I might’ve missed it but do you know where Point6 gets his mesh fabric from? I’m thinking of having a crack at making my own setup but I’m having difficulty finding a source for materials.
I thought maybe Aliexpress but their mesh always seem to be a lot darker in reality than they appear in their pictures.
LikeLike
Hi David,
Point6 uses Haloscreen mesh, which is now widely available with a good selection of distributors. There are a few copies out there but nothing comes close to the original, which comes in a much better range of colours. If you get stuck, look me up on Instagram or FB and I’ll gladly help you out with it (it’s a bit hard using these blog comments). Links are on the homepage
LikeLike